If you’ve never tried origami (the art of folding paper) with your children because you thought it might be too difficult, we’re going to show you that how to make origami stuff out of paper is easier than you think. Teaching origami to your children has been shown to improve spatial visualization skills and strengthen their understanding of geometry. Plus, it’s also good for hand-eye coordination and mental focus. A fun activity that also boosts brain health? Sign us up!
So, if you’re ready to transform a piece of paper into an easy origami animal that your child will love, check out the following video with step-by-step directions to make your own Wiley the Wolf.
Instructions to Make Origami Step-By-Step for Beginners:
Step 1: Cut a piece of construction paper into a square. We recommend brown or grey if you’re looking for classic wolf colors. Then, clear a flat surface so you have a space to fold.
Step 2: Instruct your child to fold the paper diagonally in half and crease it. Then unfold it and fold diagonally the other way, creasing again.

Step 3: Have your child unfold the paper and flip over.
Step 4: Now, fold the paper horizontally and crease. Then, unfold, rotate clockwise, fold horizontally, and crease again.
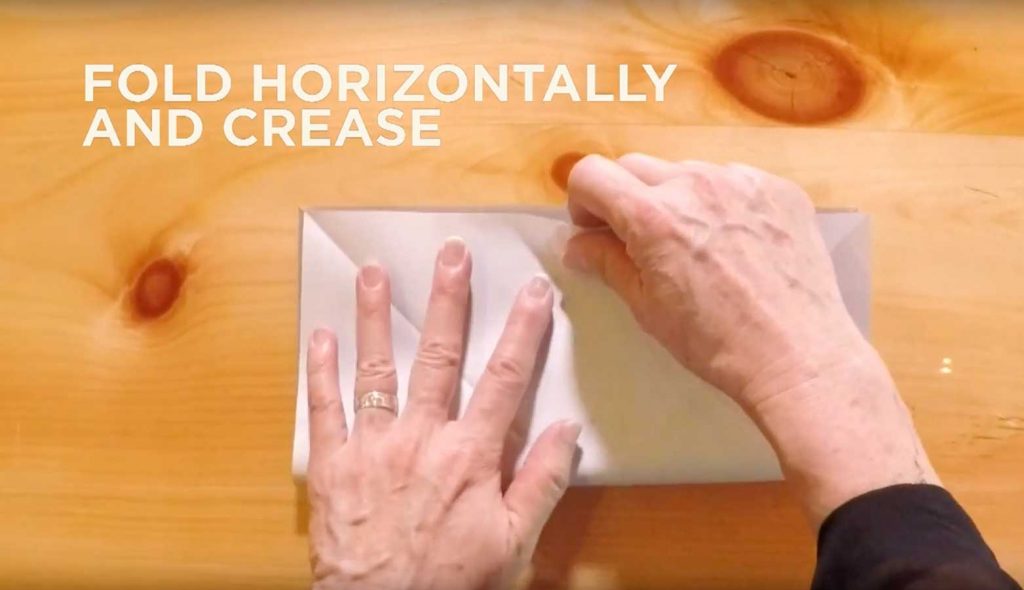
Step 5: Have your child unfold and bend the sides slightly under towards the center.
Step 6: Squeeze the opposite corners into a triangle, making the outline of the wolf’s head (this step’s a bit trickier, so we recommend Mom or Dad do this part).

Step 7: With the point of the triangle facing down, fold the corners of the top piece of paper towards the center.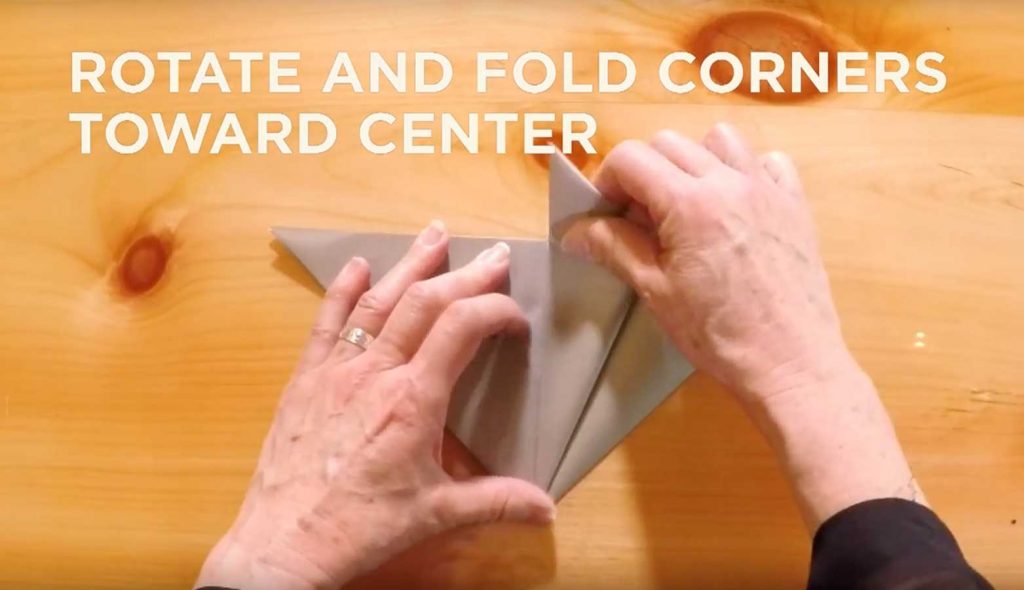
Step 8: Have your child fold the tips of those same corners down so the crease is level with the top of the paper.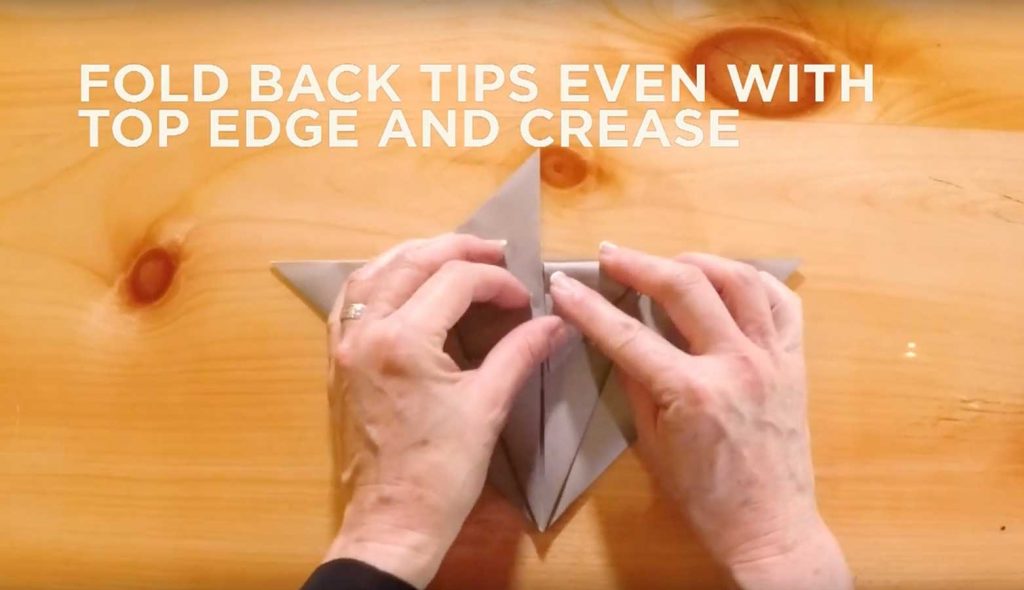
Step 9: Using the same inside corners, fold the corners of the top piece of paper diagonally towards the outside and crease.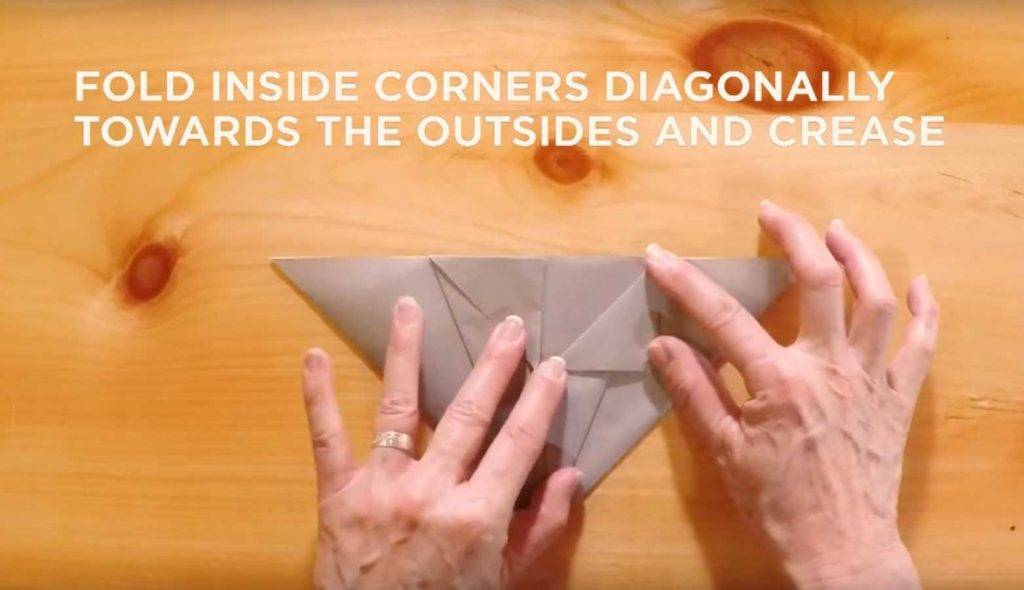
Step 10: Now back on the original triangle, fold the bottom tip of the triangle up towards top of his face to make his nose (about a quarter of an inch before creasing).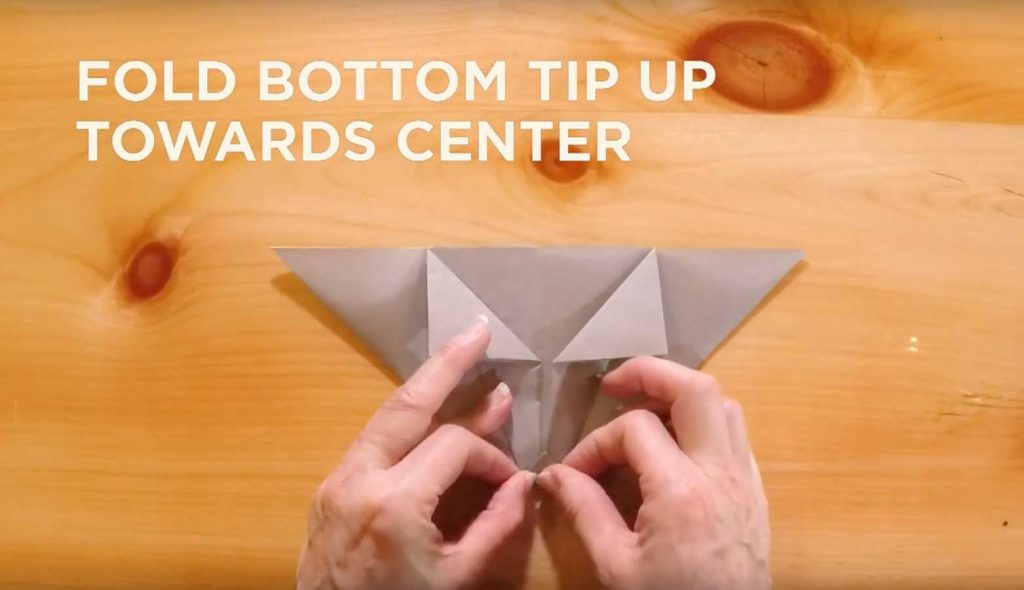
Step 11: Flip your wolf over and fold the right side diagonally towards the center. Fold the tip of that triangle back halfway and crease to make his ear. Now that he can hear, feel free to tell your wolf friend how much fun you’re having!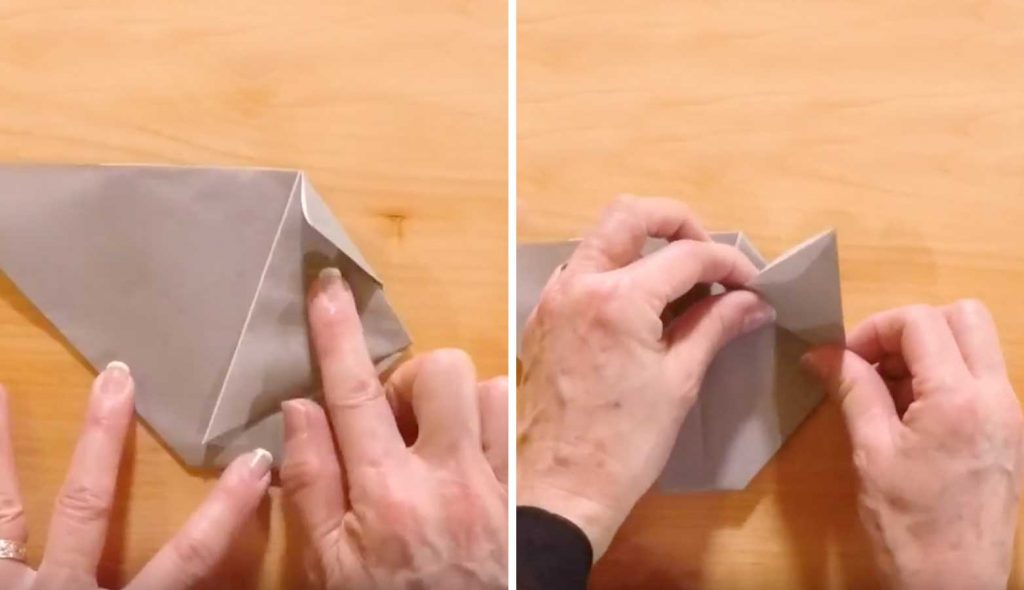
Step 12: Fold the left side diagonally towards the center. Fold the tip of that triangle back halfway and crease to make his other ear.
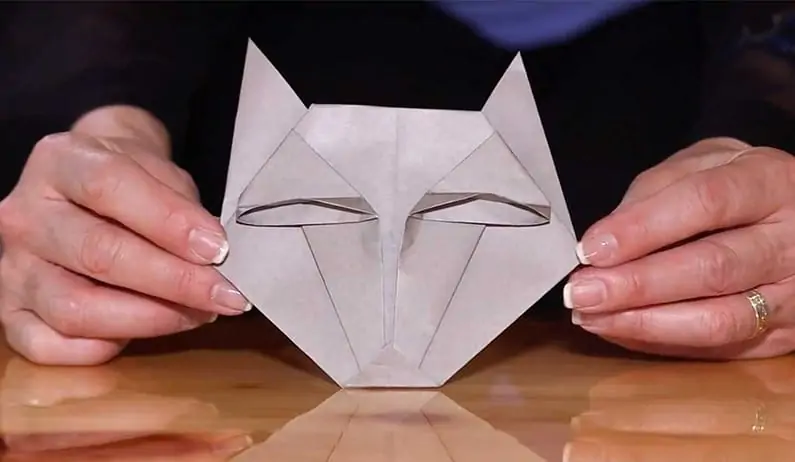
Step 13: Flip back over and pinch the center folds upwards on each side. This opens the wolf’s eyes. 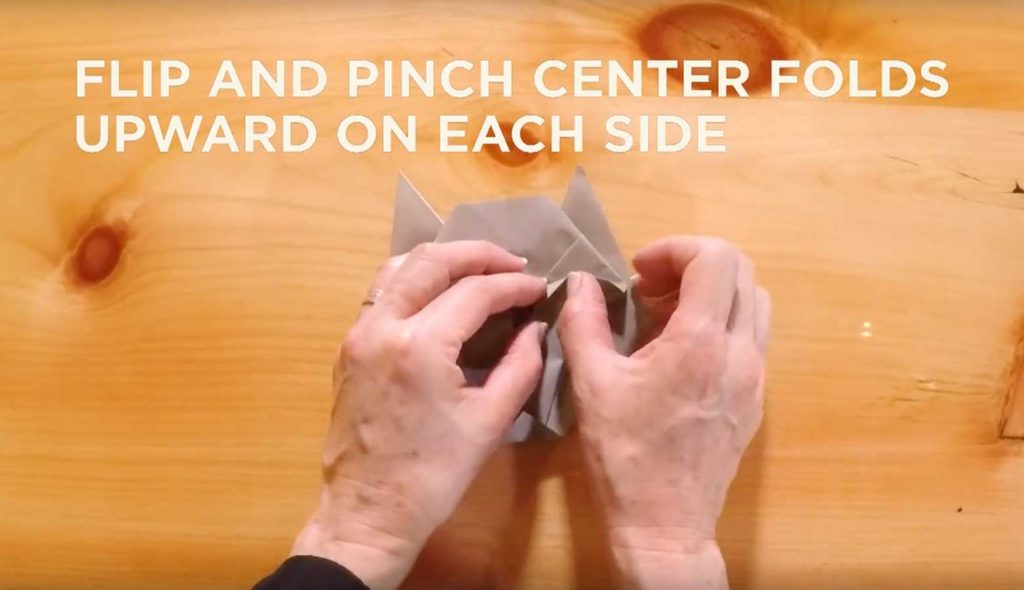
Step 14: Fold the top edge back a half of an inch and crease.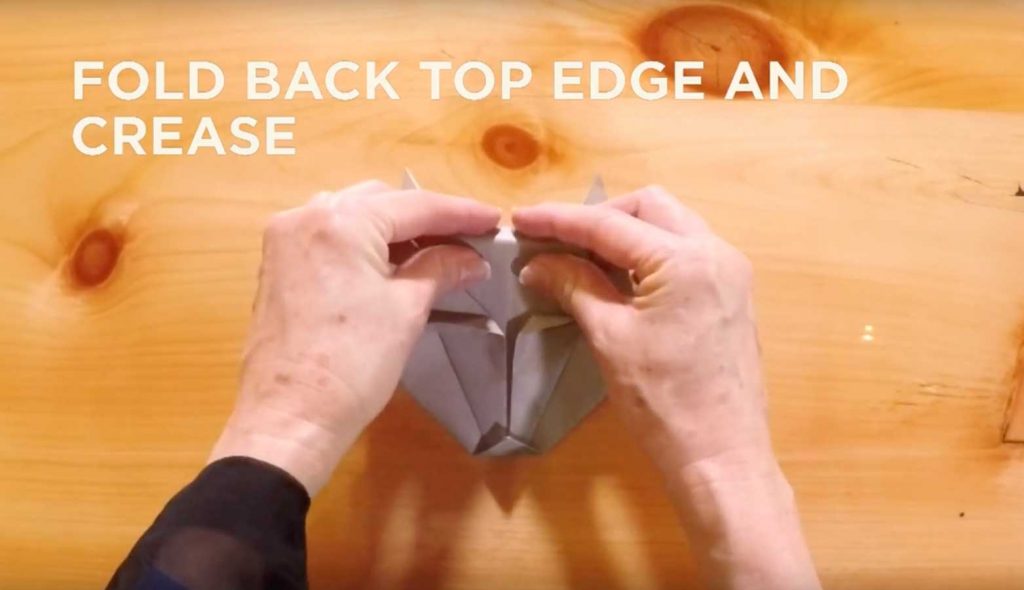
You’re all done! You made your very own Wiley the Wolf.
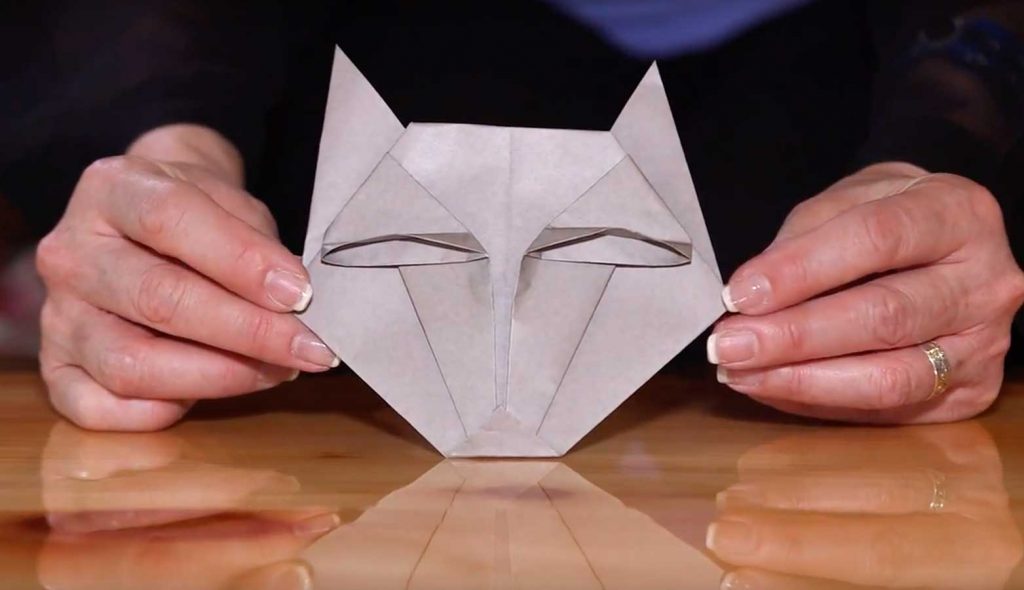
Your new Wiley is the perfect backpack companion. Or better yet, put him (and some extra pieces of paper) in your luggage for your next Great Wolf Lodge adventure. Soon, your children will be teaching everyone at Story Time how to make easy origami animals.
Want another origami project to do with your kids? Try this wolf paw !