Winter is officially here, which means we can finally enjoy some of our favorite cold-weather activities! From snowball fights to sledding hills, there are plenty of things to do once the snow starts falling. Few activities, however, compete with building a snowman. This winter tradition actually dates all the way back to the Middle Ages. Even Michaelangelo took a stab at things during his time. In 1494, the Renaissance sculpture was commissioned by the ruler of Florence to create a snowman in his mansion’s courtyard!
Of course, building a snowman isn’t always easy, so we put together a few tips to help you keep the tradition alive. Check out the list below to get started!
How to Build a Snowman
1. Secure the Right Kind of Snow
If you live somewhere that gets cold enough to snow, you know that precipitation changes in terms of texture and consistency. Snow can be dry, slushy, wet, powdery, and more. You’ll need a little moisture to keep your snowman together, so a cross between wet and powdery would be ideal. If it’s too wet, try waiting a few days for it to dry out. If your snow is too dry, you can add moisture by delivering a light midst with your garden hose.
2. Pick the Right Place
Try not to build your snowman in an area that gets tons of sun. Direct sunlight will melt cause your snowman to melt. The shadier the spot is, the longer your snowman will last.
3. Start from the Ground Up
Creating a sturdy foundation will help your snowman stand tall. Follow the 3-2-1 ratio to secure the most stability. Begin with the lowest ball. Aim for a diameter of 3 feet. Follow with the middle ball, with a diameter of 2 feet and the top measuring just 1 foot across. Stack each ball on top of one another, using additional snow to reinforce the joints. Remember, the lower to the ground your build your snowman, the sturdier it will be.
4. Roll the Snow Right
Now that we know what kind of snow to use and where to position our snowman, it’s time to start focusing on technique. Rolling the perfect snowballs to create your snowman isn’t as easy as it sounds. For the best results, pack the snow into a ball in your hands. Then place the ball on the ground and roll it around. If it’s picking up more snow, then keep going until you achieve the size you want.
5. Accessorize as Desired
Complete your snowman by using items found around the house. You can also take a trip to the store if you want some specialty items. You can use dark stones to create the “buttons” on his jacket (they can also be used for the eyes and the mouth). Use a hat and scarf from around the house to decorate his head. Collect some sticks from around the yard to use for the limbs. You can even position a shovel next to your snowman for extra detail!
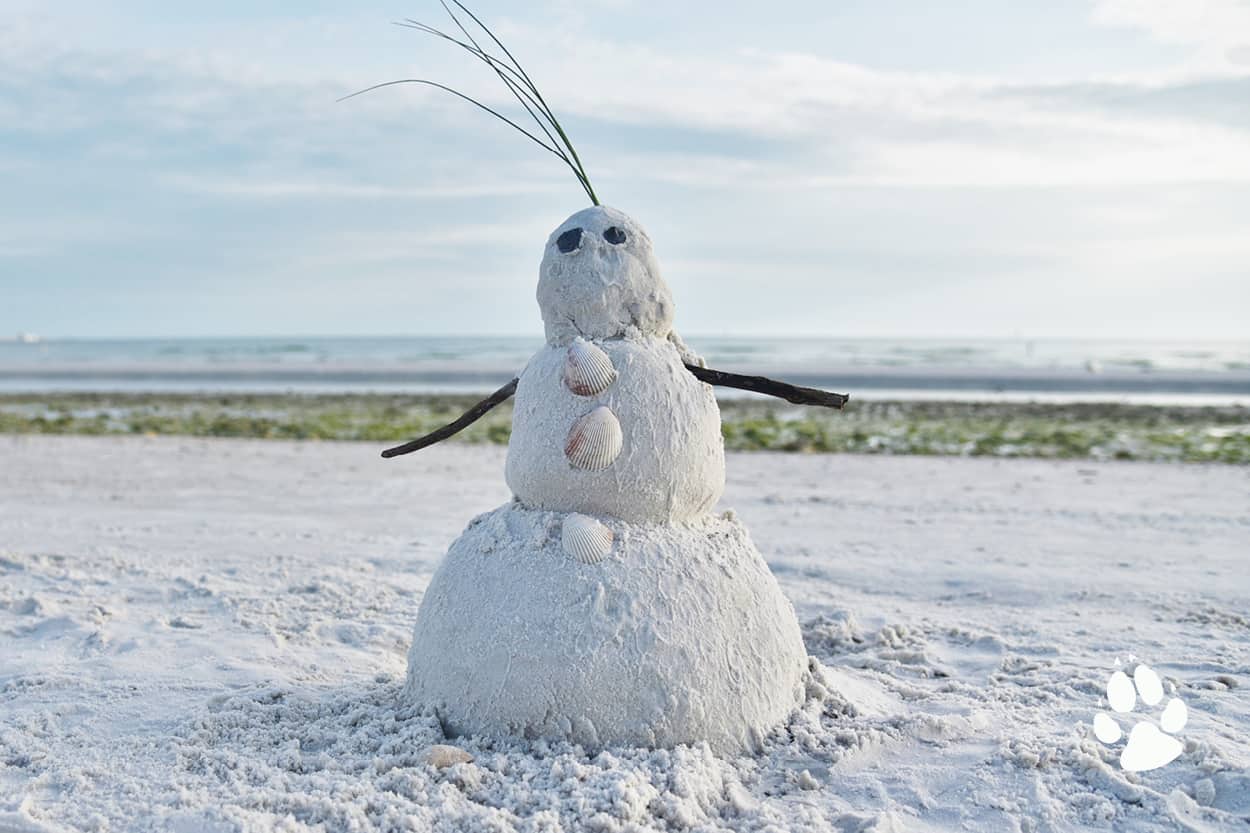
We hope you had fun building your snowman! Of course, we know not everyone lives in cold climates. We’re not leaving you out! Show us your creativity and share your snowman. They do not have to be made out of snow, so have fun and share with us at #GWLsnowman. You can also visit our blog for more things to do!


