Vrooom! We’re off in our airplane to explore! This fun, colorful craft is fun to make, and even more fun to play with! Where will you go in your very own airplane? What adventures will you have?
These days, travel may be limited, but with this activity, you can set your imagination soaring!
Besides, encouraging kids to use their imagination can have an amazing impact on their development. Allowing them to flex those creative muscles throughout the week can help increase concentration and even inspire new ways of thinking about school subjects.
Check out the instructions below to get started. Don’t forget to share your finished airplanes with us @GreatWolfLodge and tag #pawsnplay!
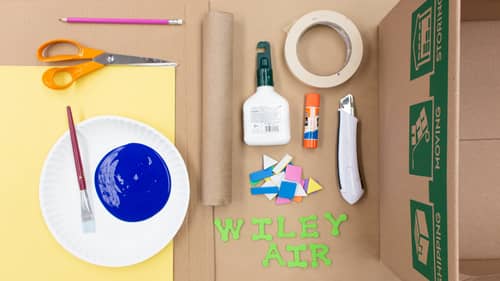
Supplies:
- Scissors
- Pencil
- Foam Self-Adhesive Letters and Shapes
- Box Cutter
- Liquid Glue
- Glue Stick
- Paint Brush
- Acrylic or Washable Paint
- Craft Roll
- Masking Tape
- Small Cardboard Box
- Yellow Construction Paper
- Sheets of Cardboard
Time to Craft: 60 minutes plus dry time
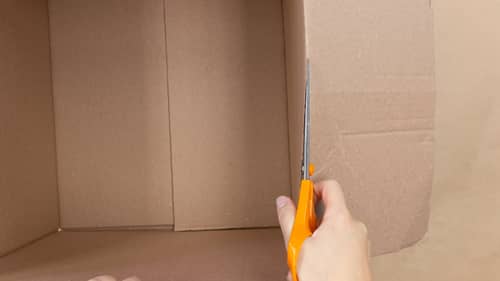
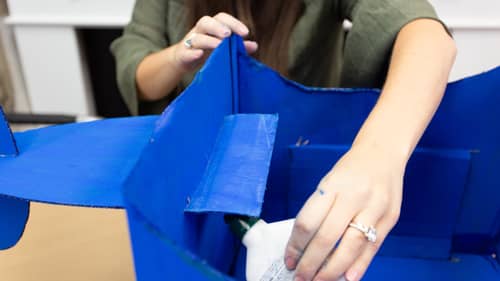
Step 1: Carefully cut the cardboard box flaps off. Have an adult help with this step.
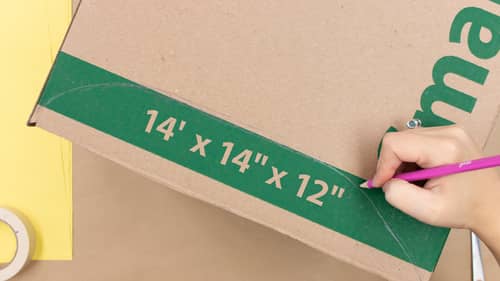
Step 2: On each two opposing sides, draw and cut a rounded shape. Have an adult help with this step.
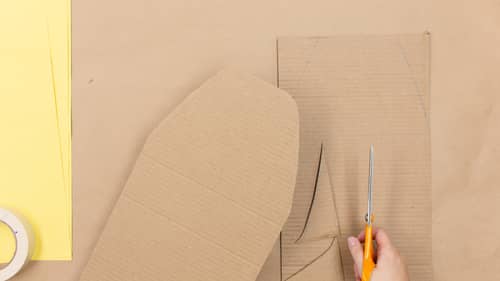
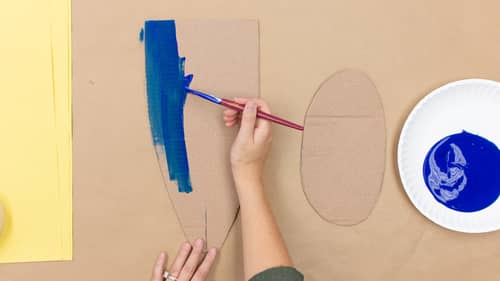
Step 3: Draw two airplane wings with a pencil on the sheets of cardboard. Carefully cut out two airplane wings. Draw and carefully cut out the airplane tail and an oval from the cardboard sheet. Have an adult help with this step.
Step 4: Paint the box, wings and tail pieces blue and let dry.
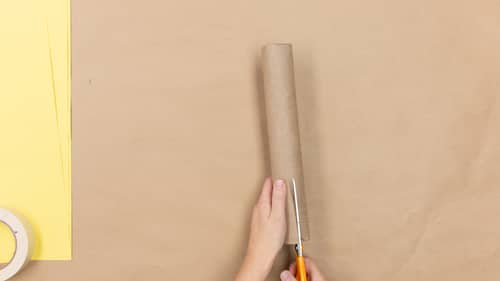
Step 5: Carefully make a vertical cut through the craft roll so that you have two craft roll pieces. Make a triangle point at the top of both craft roll pieces. Set aside.
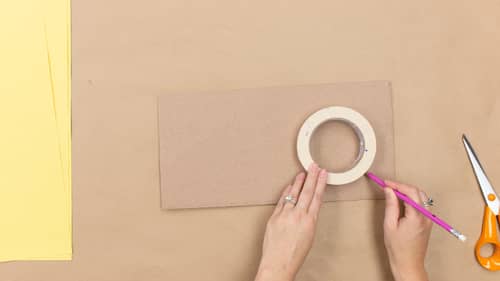
Step 6: Trace a circle onto a cardboard sheet using a pencil and masking tape roll.
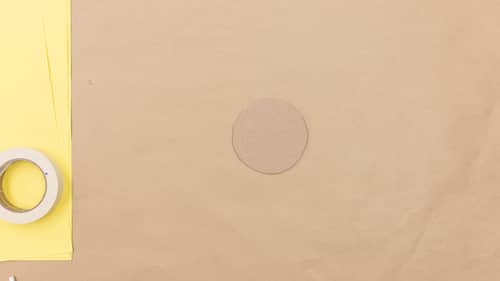
Step 7: Carefully cut the circle out and paint blue. Set aside.
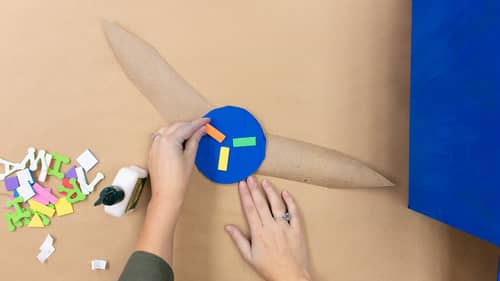
Step 8: Glue the cut craft roll to the blue circle to make the front propeller. Add decorative puffy shapes to the blue circle. Set aside.
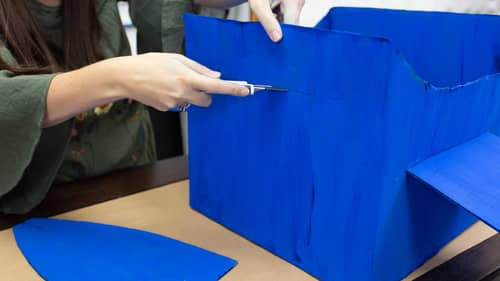
Step 9: Carefully cut a slit in the side of the cardboard box with a box cutter. Have an adult help with this step.
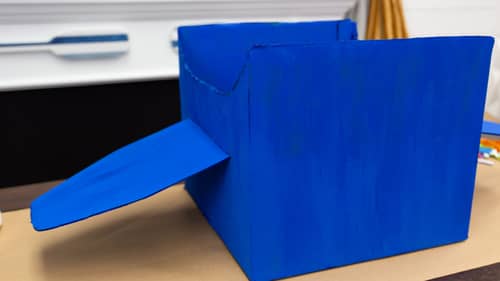
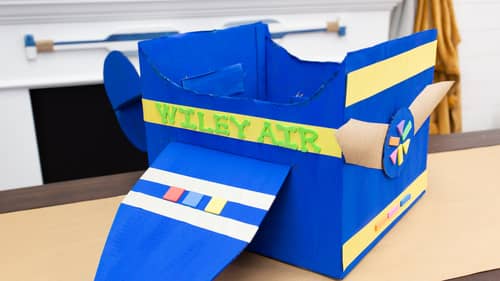
Step 10: Slide the airplane wing into the slit in the side and glue.
Step 11: Cut a slit in the back of the cardboard box and slide the back propeller into the slit and secure with glue. Have an adult help with this step.
Step 12: Cut long strips of yellow construction paper and use a glue stick to glue it to the side and front of the airplane.
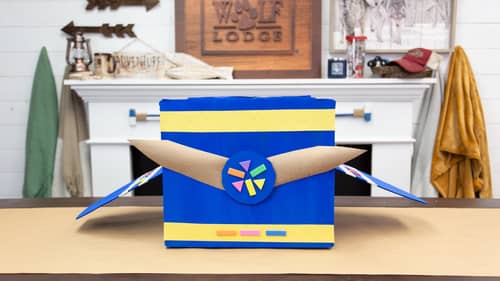
Step 13: Decorate your airplane with foam letters and shapes.
Step 14: You’re now ready for flight! Where will you go in your airplane?
We hope you had a blast making your very own airplane! Visit us again soon for more ideas on how to have fun at home with the family during your eLearning recess break. If you’re curious about visiting Great Wolf Lodge, be sure to read our Paw Pledge. We’re committed to keeping your family safe while you play!
Created by CraftBoxGirls.com / @craftboxgirls